Shutter Speed

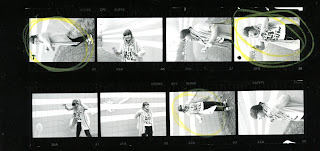
This is my contact sheet for this project and the settings are:
Aperture: 5.6
Time: 55 s
Filter: No

This is a test-strip of one of the pictures I decided to use from my contact sheet. Although, I changed the aperture and the other settings from the contact sheet, it didn't take long to find the correct settings. Surprisingly, I finished with this print, and the next one in one class. For this print I only had to make two test-strips and the settings for this test-strip are:
Aperture: 2.8
Time: (from top to bottom) 27, 29,31 s
Filter: No

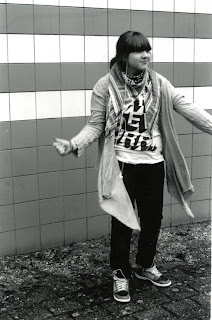
This is the final print. I also used a pretty high shutter speed so that the subjects would not be blurry. The final settings are:
Aperture: 2.8
Time: 27 s
Filter: No
Shutter Speed: 250

This is the test-strip for my second print. I decided to go for it and use the same settings as last print, and it worked out good. The settings are:
Aperture: 2.8
Time: 27 s
Filter: No

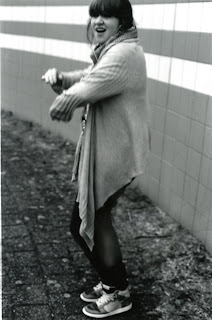
This is my second final print for this project. The shutter speed is a bit lower for this picture than the last one, but unfortunately there isn't too much intense movement, so it isn't easy to tell the difference in the shutter speeds. The final settings are:
Aperture: 2.8
Time: 27 s
Filter: No
Shutter Speed: 150


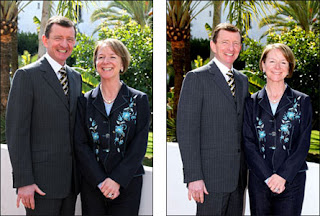 The photographer of these pictures used different settings with the flash. In the picture to the right there was no flash used and the sun gave the light. The picture to the right used a flash and it highlighted the details on the clothes and there is a clear different between the two pictures.
  Most digital cameras today have a built in flash.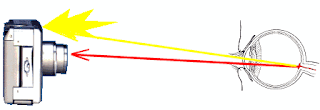
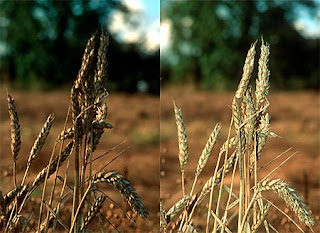 Even though a flash is not required, it is often used and can create another nice effect to the picture. In the picture to the right a flash is used and the wheat stands out.
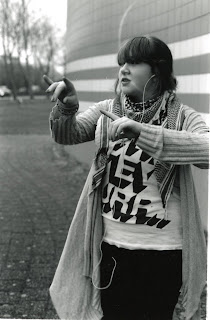
 Here is the test-strip for this project. It went very quick to find the settings for the prints. I used all the same settings for all the prints so it went pretty quick to develop the prints. The settings for this test-strip are:


